cp and rsync predate the cloud and cannot deliver the throughput required to move massive amounts of data from place to place. These tools are generally used as building blocks, often within scripts that take care of scheduling, orchestration, and network security.Secure & ParallelEFS File Sync uses a secure, highly parallel data transfer mechanism that can run up to 5 times faster than the tools I mentioned above. It is available as an agent that runs within VMware ESXi or on an EC2 instance, and accesses the source file system via NFS (v3 and v4), and can be used in all AWS Regions where EFS is available. Because the agent is responsible for initiating all communication with AWS you don’t need to set up VPNs or allow inbound connections through your firewall.
You can launch, control, and monitor the agent and your sync tasks from the AWS Management Console. Jobs can specify the transfer of an entire file system or a specific directory tree, with the option to detect and skip files that are already present in the destination. File metadata (modification and access time, POSIX ownership and permissions, symbolic links, and hard links) is also copied.
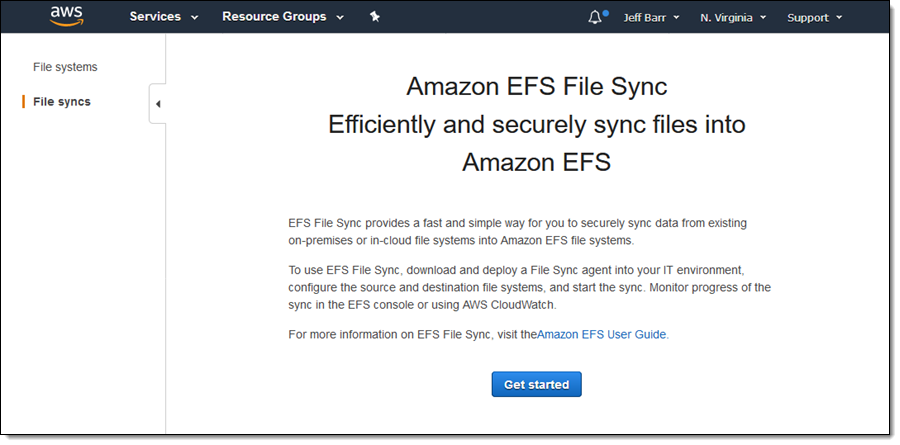
Using EFS File Sync
In order to write this blog post, I launched an EC2 instance, exported an NFS file system (/data), and populated the file system with the Linux kernel source code.
I open the EFS Console in the same Region as my instance, and click File syncs:
I click on Get started, choose Amazon EC2 as my host platform and click Launch instance, and click Connect to agent to proceed:
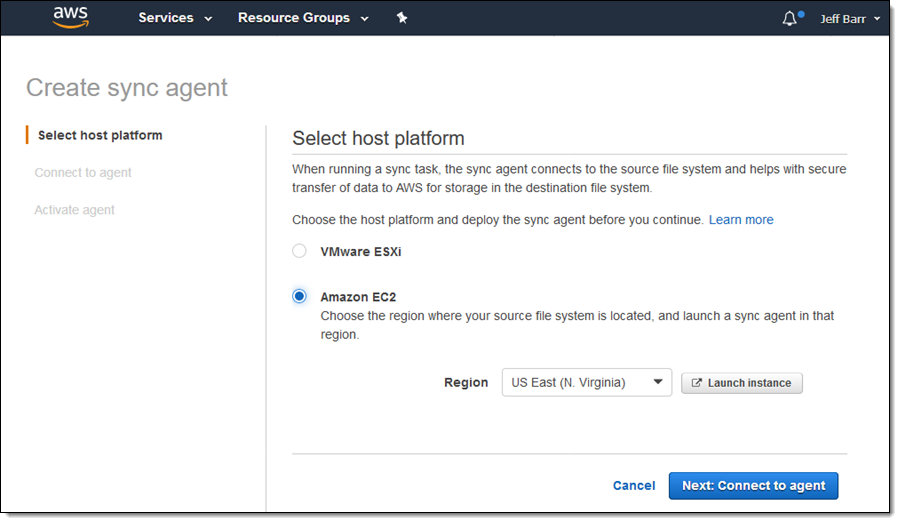
Clicking Launch instance opens the EC2 console in a separate tab. I pick a Memory optimized instance type (xlarge or bigger), configure it with a public IP address and with a security group that allows inbound traffic on port 80, and launch it as I would any other EC2 instance. Then I wait a minute or two (time to water my plants or check on my dog), and wait until the status checks pass:
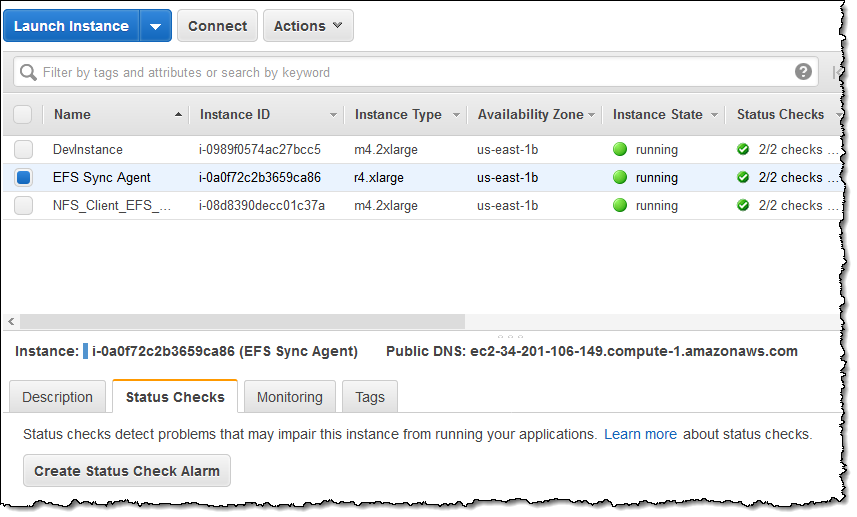
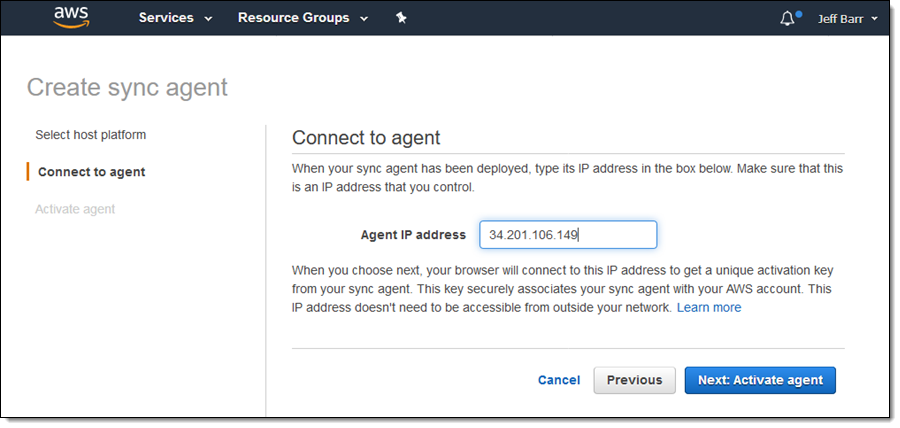
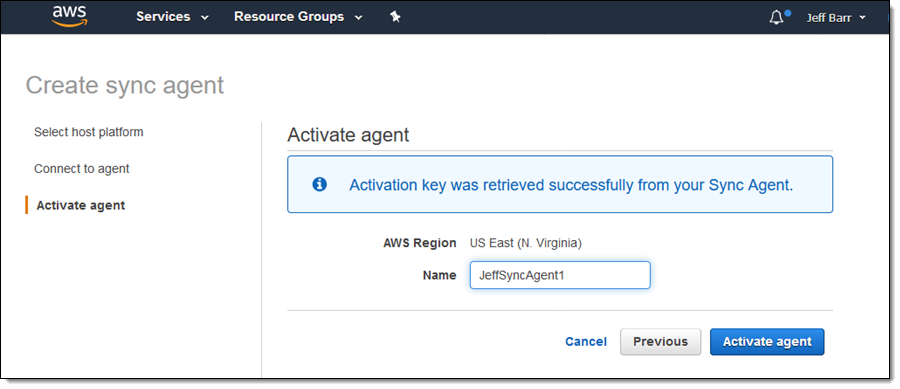
Then I capture the instance’s public IP address, return to the EFS tab, enter the address, and click on Activate agent:
This step retrieves the activation key from the sync agent. After it completes, I enter a name for it and click Activate agent to proceed:
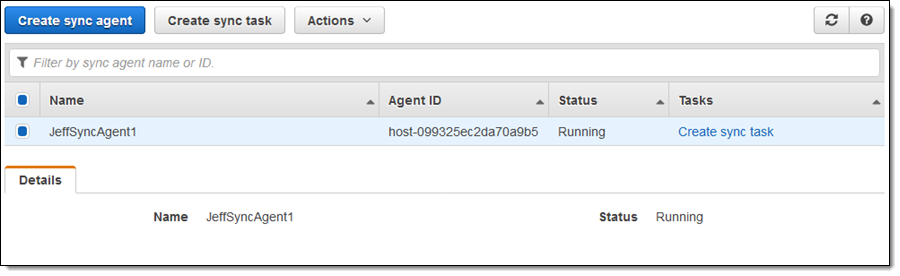
Now that the agent is running and activated, I click on Create sync task to start moving some files to EFS:
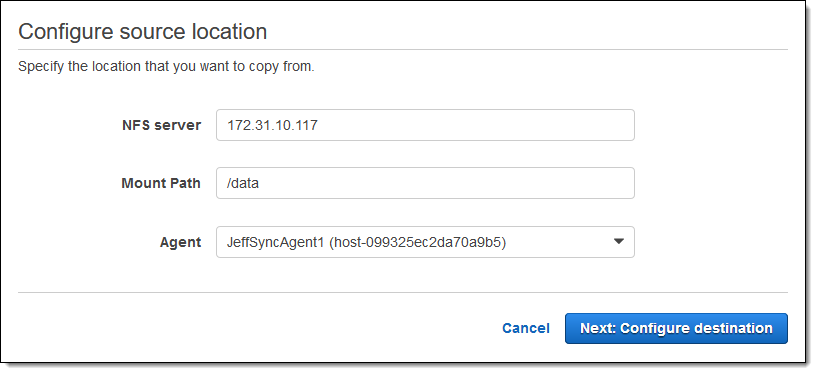
I configure the source location (the EC2 instance that I mentioned at the start of this section):
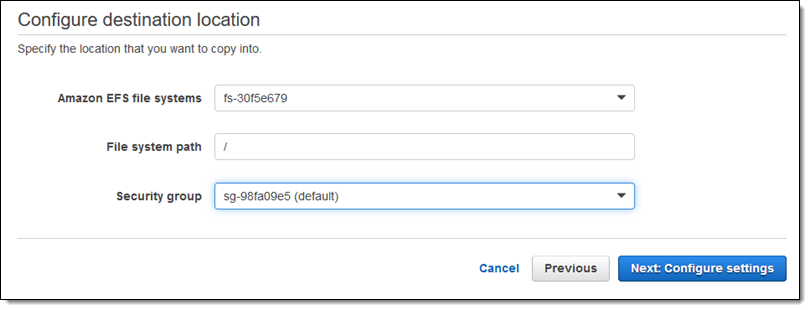
I also choose the destination EFS file system and specify a target location within it for my files:
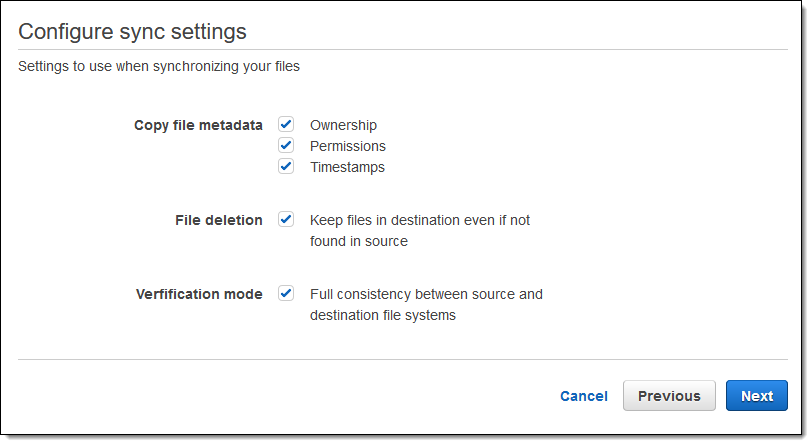
Then I select my sync options and click Next to review my configuration:
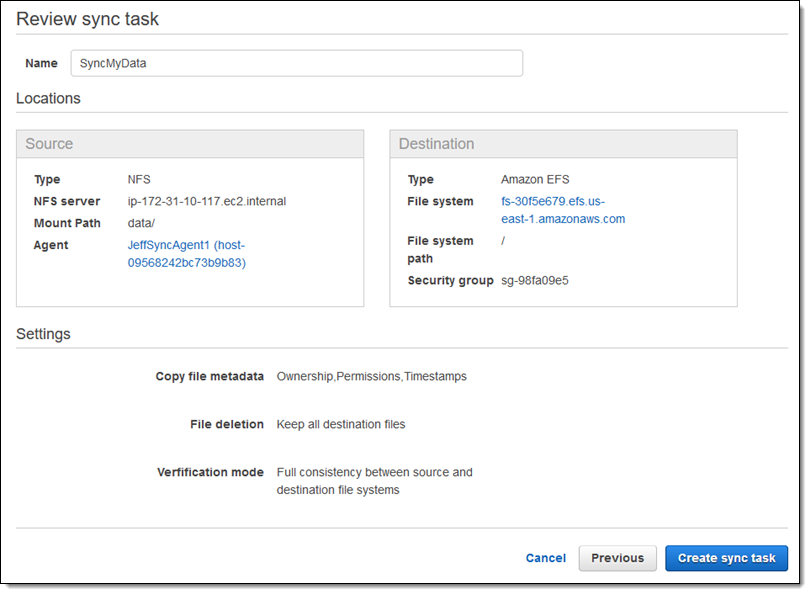
The review looks good and I click Create sync task to start copying my files:
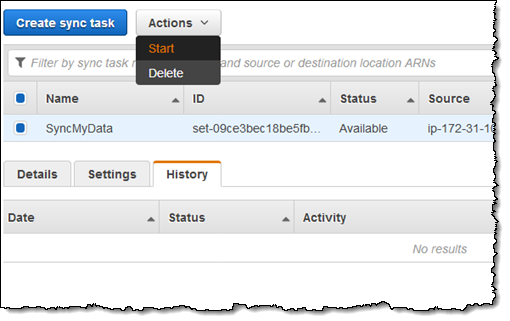
After the sync task has been created and its status becomes Available, I can select it and choose Start from the Actions menu to initiate a sync:
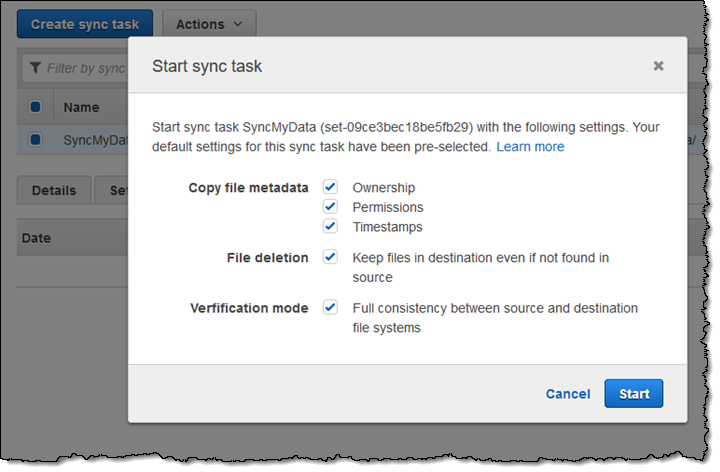
I fine-tune the settings that I established when I created the task, and click Start to proceed:
I can track the status of the sync task on the History tab:

It completes within minutes and my EFS file system now includes the new files:

Available Now
EFS File Sync is available in all AWS Regions where EFS is available. You pay for the EFS and EC2 resources that you consume and $0.01 per GB of data copied (see the EFS Pricing page for more info).
— Jeff;